Introduction
Concrete strength testing is essential in civil engineering to ensure durability and structural safety. This guide outlines a detailed, practical approach to assessing concrete strength, including sample preparation, curing, and various testing methods.
Understanding Concrete Strength
Concrete strength measures how well hardened concrete resists applied forces. The most commonly tested parameter is compressive strength, though tensile and flexural strength are also important. Strength depends on factors like water-cement ratio, aggregate quality, and curing conditions.
Why Concrete Strength Testing Matters
- Confirms compliance with design specifications.
- Helps prevent structural failures.
- Ensures quality control in material selection and mix design.
- Meets industry standards such as ASTM and BS codes.
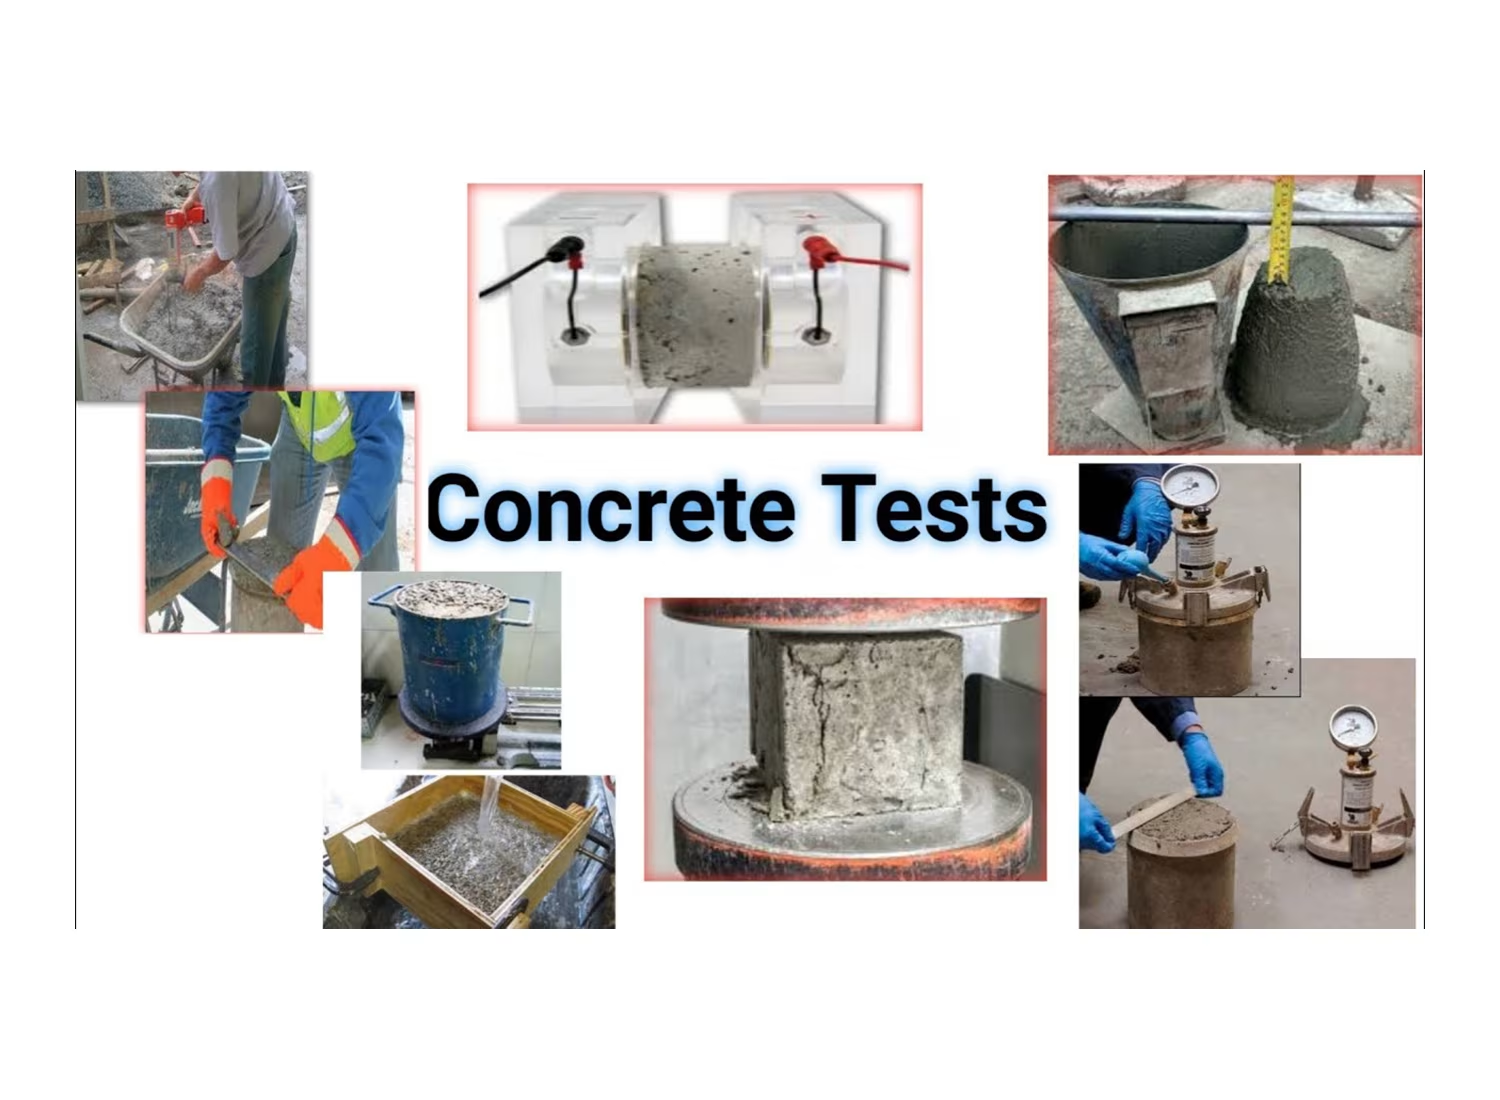
Common Concrete Strength Tests
- Compressive Strength Test (Most widely used)
- Flexural Strength Test
- Split Tensile Strength Test
- Rebound Hammer Test
- Ultrasonic Pulse Velocity Test
This guide primarily focuses on the Compressive Strength Test, the industry standard for evaluating concrete strength.
Step-by-Step Guide to Compressive Strength Testing
Step 1: Sample Collection and Preparation
- Select Fresh Concrete: Collect a representative sample during placement.
- Use Standard Molds: Common sizes include cylindrical (150mm x 300mm) or cube (150mm x 150mm) molds.
- Prepare the Molds: Apply a release agent inside the molds to prevent sticking.
- Fill in Layers: Pour concrete in three layers, tamping each layer 25 times with a rod.
- Level the Surface: Smooth the top surface with a trowel.
Step 2: Curing the Specimens
- Initial Curing: Keep samples undisturbed in a moist environment (20-25°C) for 24 hours.
- Demolding: Carefully remove the samples from molds after 24 hours.
- Final Curing: Immerse the specimens in a curing tank at 27±2°C until testing (typically 7, 14, or 28 days).
Step 3: Preparing for the Test
- Remove Specimens from Water: Ensure they are surface-dry before testing.
- Check Dimensions: Measure and record specimen dimensions for stress calculations.
- Ensure Surface Smoothness: Verify that the ends are level and smooth.
Step 4: Conducting the Compression Test
- Place Specimen in the Testing Machine: Center the sample on the lower platen.
- Apply Load Gradually: Load should increase at a rate of 14 MPa/min.
- Observe Failure Point: Record the load at which the specimen fails.
Step 5: Recording and Analyzing Results
- Record Maximum Load: Note the highest applied force before failure.
- Calculate Compressive Strength: Where:
- f_c = Compressive strength (MPa)
- P = Maximum applied load (N)
- A = Cross-sectional area (mm²)
- Compare with Standards: Verify against design specifications and industry codes.
Interpreting Results
- 7-Day Strength: Should reach 60-70% of 28-day strength.
- 28-Day Strength: The standard benchmark for concrete quality.
- Failed Tests: If results are below requirements, further investigation and possible adjustments are needed.
Alternative Testing Methods
If core samples cannot be taken, non-destructive methods such as the Rebound Hammer Test and Ultrasonic Pulse Velocity Test can estimate in-situ concrete strength.
Conclusion
Concrete strength testing is crucial for structural integrity and quality assurance. By following these step-by-step procedures, engineers and builders can reliably assess concrete performance and make necessary improvements for better, more sustainable structures.


Leave a Reply